How I built a site with a Jekyll theme
The brief was to have an easy to manage site, by making use of GitHub for their content and source control with markdown pages, hooked up to a Jekyll site. Jekyll is a static site generator, which means there's no database, making it secure and snappy. Wanting a more customized site than what the standard GitHub Jekyll themes had to offer, I built a Jekyll theme from scratch. For a responsive site, I incorporated the Bootstrap CSS framework in my theme.
Here's the basic steps of how I built my Jekyll Theme!
First up, install Jekyll:
gem install bundler jekyllNext we can spin up a new site to run locally.
jekyll new my - awesome - siteTake it it for a test run! Jump in to the directory:
cd my - awesome - siteRun!
bundle exec jekyll serveNow browse to http://localhost:4000 to see your new site in action!
*If you get a webrick error, install the bundle as below!
bundle add webrickNow we’ve got a base site created, we can go ahead and spin up a new Jekyll theme.
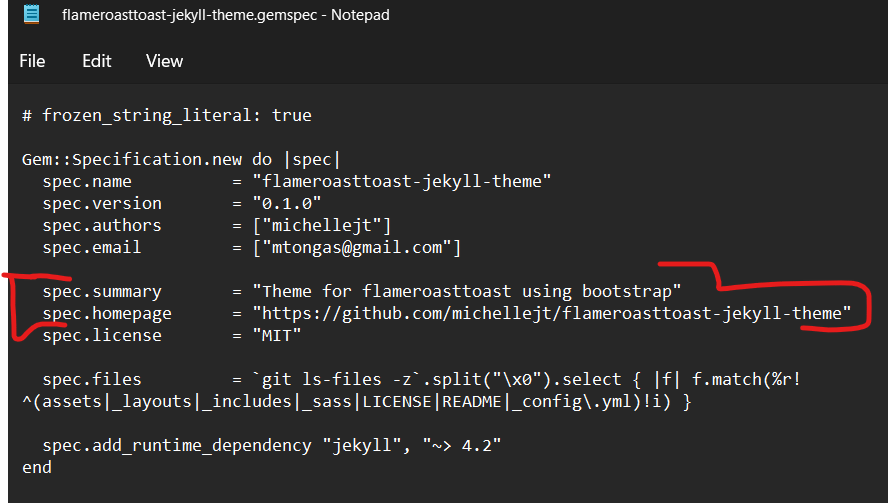
jekyll new- theme my - themeNow we’ve spun up the basic structure for the theme, we can go ahead and update the gemspec:
- spec.summary
- spec.homepage
 Connecting your new blog to a remote theme
Installation time!
Open your blog site’s Gemfile.
Comment out the default theme and add the following line for the theme gem:
#adding a new remote theme
gem 'flameroasttoast-jekyll-theme', '>= 0.1.0', : git => 'https://github.com/michellejt/flameroasttoast-jekyll-theme.git'
You can just comment out the default “minima” theme and add your new new in
Next, edit the theme in the _config.yml# Build settings:
theme: flameroasttoast - jekyll - theme
Comment on the default theme here too, and add in your remote theme
To install, execute the following commands in a terminal for your site:
bundle installNow we can see our Jekyll site running it’s new theme!
bundle exec jekyll serveThen go to: http://127.0.0.1:4000
To update the theme from the source theme:
bundle update flameroasttoast - jekyll - themeAdd this line to your Jekyll site’s Gemfile:
gem "your-theme"And add this line to your Jekyll site’s _config.yml:
theme: flameroasttoast - jekyll - themeAnd then run:
bundleOr install it yourself as:
$ gem install flameroasttoast - jekyll - themeCollections
Using the directory name part of the URL
With collections – always _(underscore) the directory name
Navigation
Part of the installation of this theme – is to create the navigation on the blog site. The theme then reads the content from _data\navigation.html and uses liquid to display it.
create _data folder with navigation.yml
navigation:
main:

- title: GAMES WRITING
url: games - writing

  - title: COMICS AND FICTION
url: comics - and - fiction

  - title: ART
url: art
Install of this theme for the blog:
create navigation _data/navigation.html
add collection settings to config yaml
add folders for collections – must start with _
on the root create the landing page for the collection eg. games-writing.md
--- layout: default title: games-writing ---
Adding custom scripts
Step 1: Make the Script file > Create the script (.js) file as normal.
You might want to save in an appropriate folder, for example:
../assets/js / some - script.jsYou may need to make the /assets/ folder if you do not have it.
You don’t need to use an underscore (_) at the front of the folder name. At deploy, Jekyll will then simply copy that folder and contents into the build at `_site’ as a static asset.
Step 2: Call / reference the script in your html.
Then just call it as you need it!
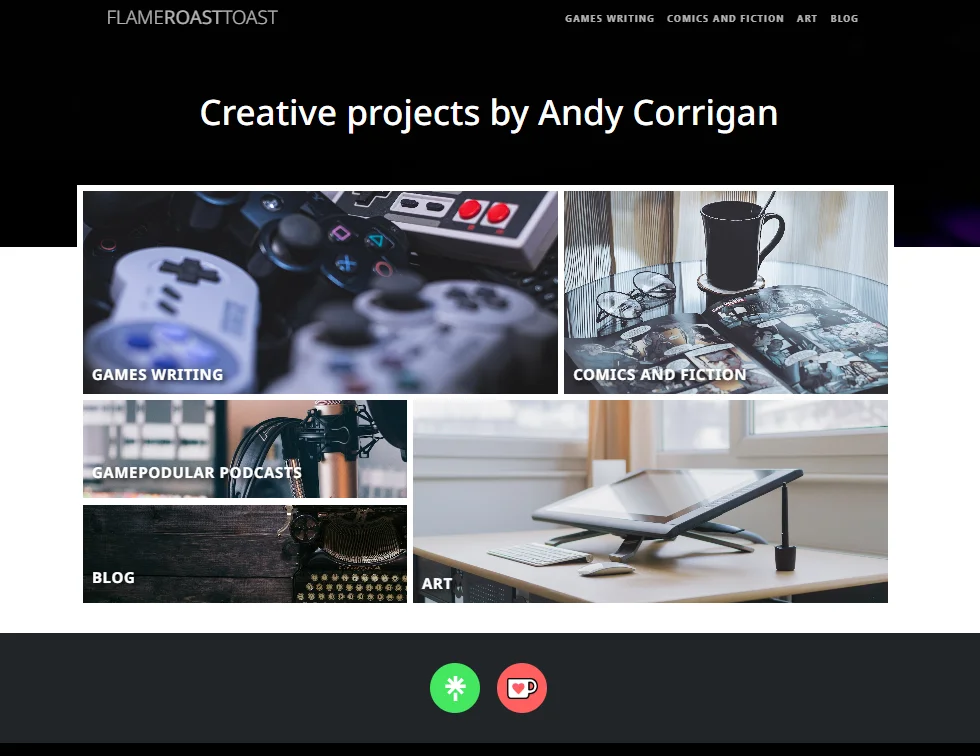
Sites I've built on Jekyll

